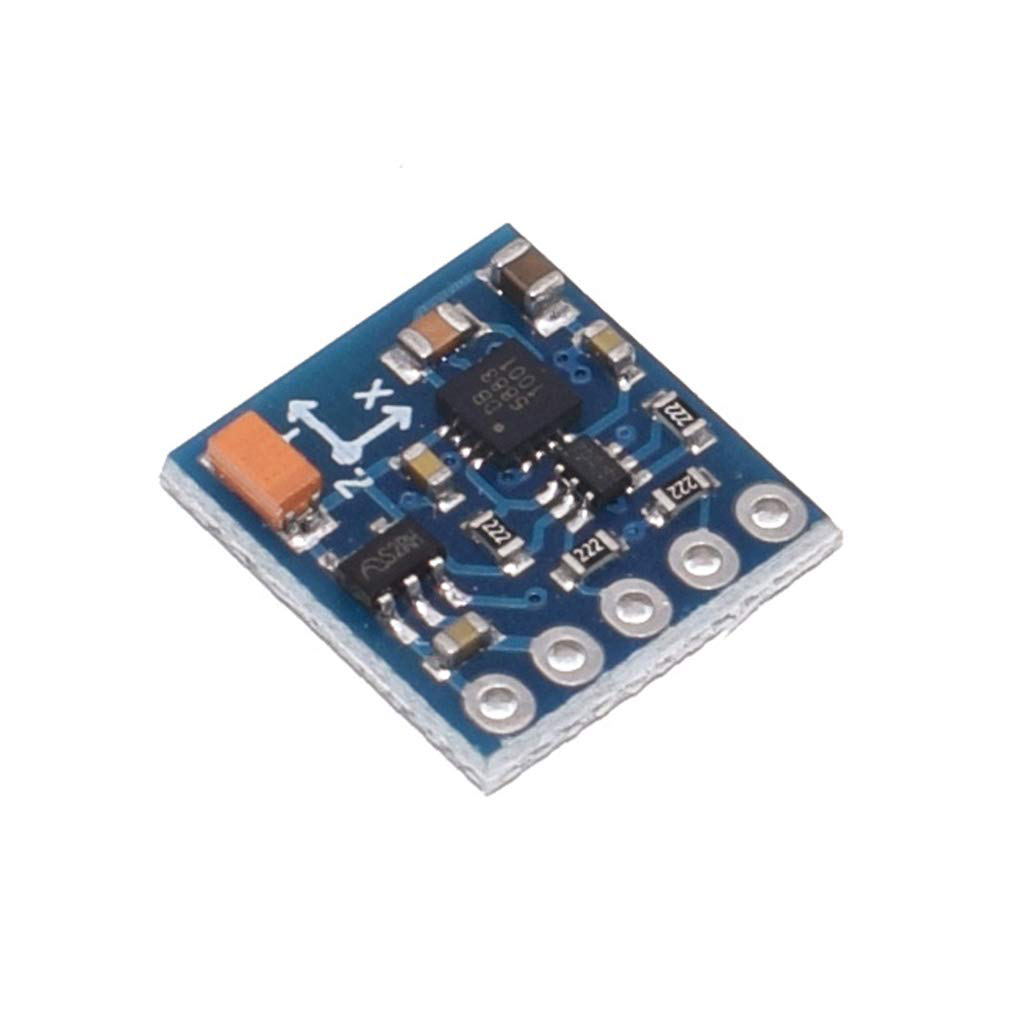
Python driver for the QMC5883L 3-Axis Magnetic Sensor
Developed for the Raspberry Pi, requires the python-smbus package to access the I2C bus.

Usage example:
import raspy_qmc5883l

sensor = raspy_qmc5883l.QMC5883L()
m = sensor.get_magnet()
print(m)
The object constructor accepts some arguments, e.g. you can pass this one to switch the output range to 8 Gauss, for very strong magnetic fields which can otherwise overflow the sensor:
sensor = raspy_qmc5883l.QMC5883L(output_range=raspy_qmc5883l.RNG_8G)
The class constructor will initialize the sensor and put it into continuous read mode, where a new reading is available into the registers at the Output Data Rate (default is 10 Hz). To save power you can put the sensor in standby mode calling the QMC5883L.mode_standby() method. To wakeup the sensor, just call the QMC5883L.mode_continuous() once, and start getting values.
Module installation
Installing from PyPI
$ pip install raspy-qmc5883l
Output Range Scale
The sensor produces values as 16 bit signed integers, i.e. numbers between -32768 and 32767. The field range is programmable with two different values: +/-2 gauss or +/-8 gauss. The natural magnetic field produced by the Earth is generally between 0.25 and 0.65 gauss, so the 2 G range is preferable in natural environment. You can expect readings in the range +/-4000 (about 0.2 gauss).
If you operate in presence of strong magnetic fields, you can experience reading overflows (over the 16 bit capabilities), in this case the driver will generate a warning and you can try to initialize the sensor in 8 gauss range, as seen above.
Adjust for Magnetic Declination
If you want that the QMC5883L.get_bearing() method return the current compass bearing adjusted by the magnetic declination, you have to set the QMC5883L.declination property.
sensor.get_bearing()
# 87.20
sensor.declination = 10.02
sensor.get_bearing()
# 97.22
The magnetic declination changes depending on the place and upon time; there are some web services which give your current value.
Calibration
Values returned by the magnetic sensor may be altered by several factors, like misalignment of sensor’s axes, asimmetries in the sensor sensitivity, magnetic fields and magnetic (ferrous) metals in the proximity of the sensor.
Into the calibration directory there are some tools that can be used to perform a simple 2D calibration using the Earth’s magnetic field.
Once you have obtained the 3x3 calibration matrix, you can set it into the driver using the calibration property and have it automatically applied when calling the get_bearing() function.
sensor.calibration = [[1.030, 0.026, -227.799],
                      [0.0255, 1.021, 1016.442],
                      [0.0, 0.0, 1.0]]
sensor.get_bearing()
Documentation
Read the module source code and the chip Datasheet.