Accessing GeoTrellis image server and dynamic tile stitching
A python client for GeoTrellis TMS service
For setup development environment
Requirements
Install Java 8 from Oracle
After installation, in the terminal, check your Java version
> javac -version
javac 1.8.0_162
Version must be 1.8+
Install Apache Spark 2 from Homebrew
After installation, make sure to put following lines in your ~/.bashrc file,
## Apache Spark
export SPARK_HOME="/usr/local/Cellar/apache-spark/2.3.0/libexec"
export SPARK_CONF_DIR="${HOME}/Applications/spark/config"
PATH="${SPARK_HOME}/bin:${SPARK_HOME}/sbin:${PATH}"
and then do source ~/.bashrc
Then in the terminal, check your spark version
> which spark-submit
/usr/local/bin/spark-submit

> spark-submit --version
Welcome to
      ____              __
     / __/__  ___ _____/ /__
    _\ \/ _ \/ _ `/ __/  '_/
   /___/ .__/\_,_/_/ /_/\_\   version 2.3.0
      /_/

Using Scala version 2.11.8, Java HotSpot(TM) 64-Bit Server VM, 1.8.0_162
Branch master
Compiled by user sameera on 2018-02-22T19:24:29Z
Revision a0d7949896e70f427e7f3942ff340c9484ff0aab
Url git@github.com:sameeragarwal/spark.git
Type --help for more information.
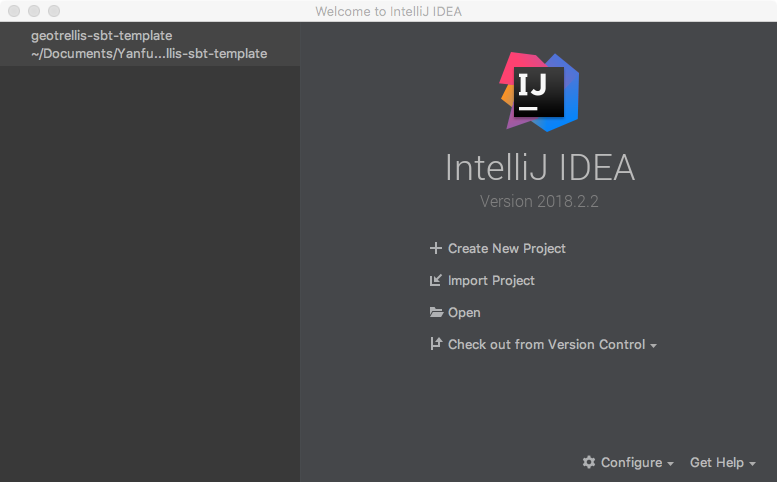
Setting up IDE for development
Download and install IntelliJ IDEA from JET BRAINS
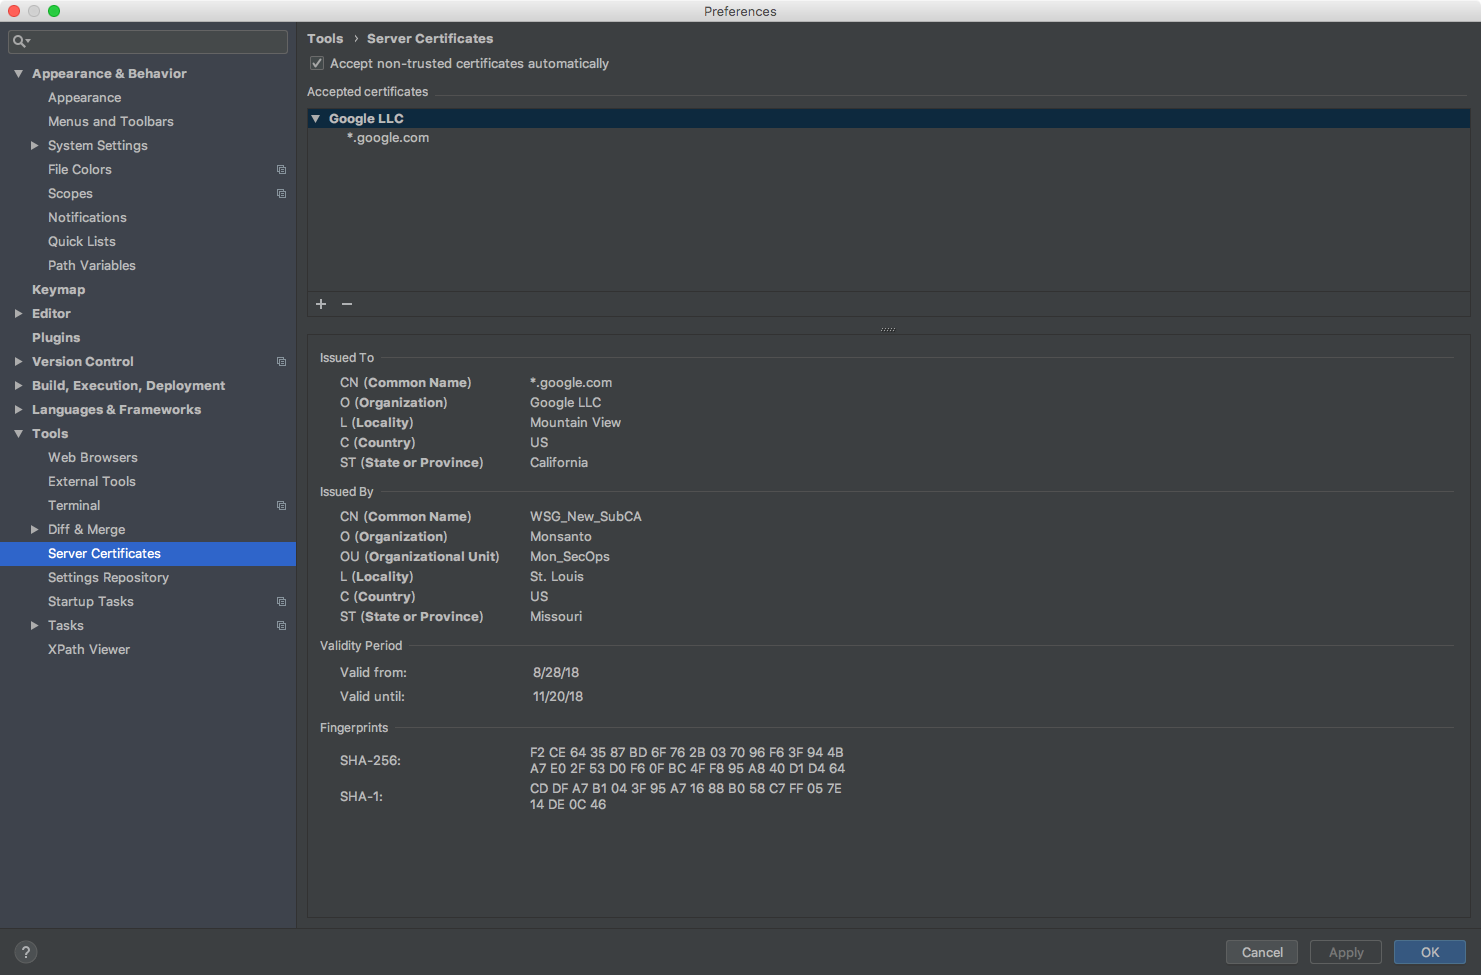
* And please make sure in your IntelliJ IDEA, go to Preferences –> Tools –> Server Certificates and check the box Accept non-trusted certificates automatically, otherwise you may fail to import the project later.
Download GeoTrellis Project Template
> git clone https://github.com/geotrellis/geotrellis-sbt-template.git
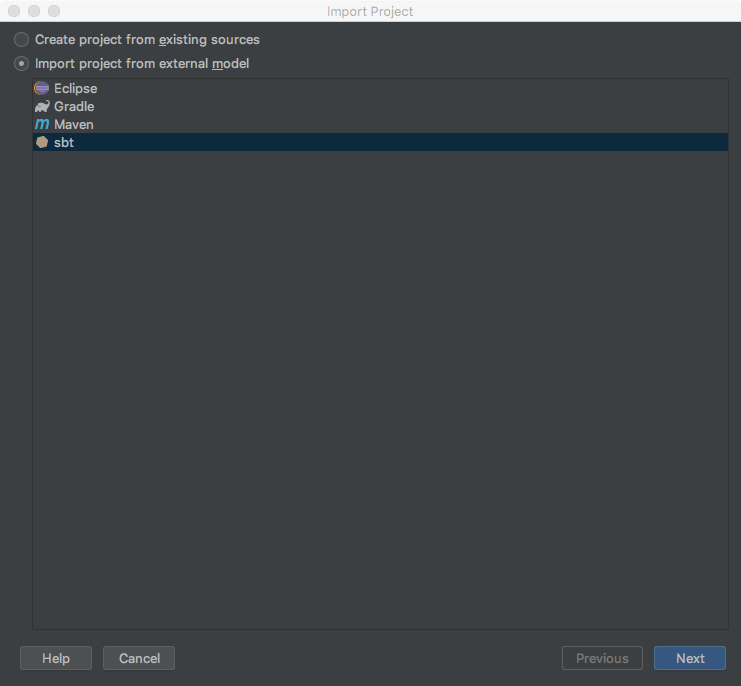
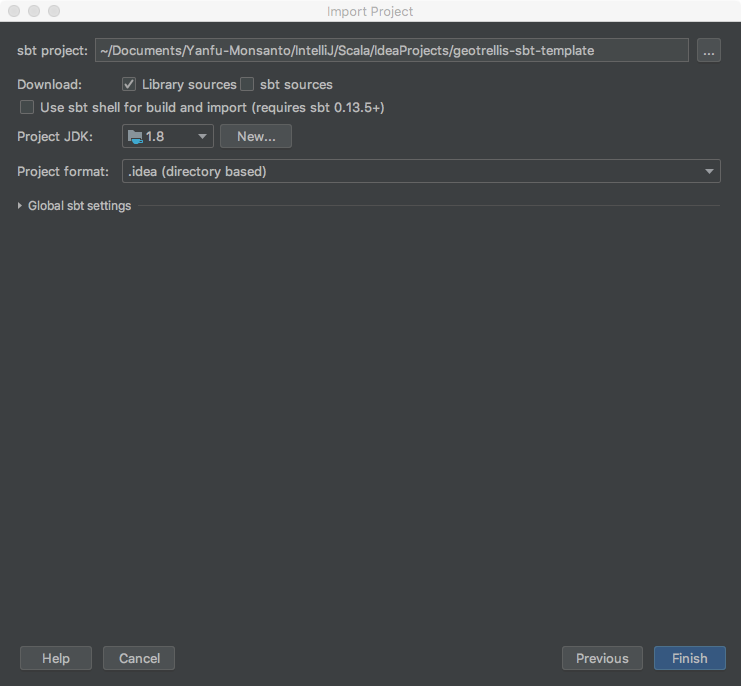
After this, start your IntelliJ IDEA, and select Import Project, then in the Import Project window, select SBT and then click Next, and then clicl Finish.
*To add more GeoTreillis Modules as dependencies in your project, please look@here
Building a Geotrellis Overlay Server
> git clone https://github.com/geotrellis/geotrellis-server.git
Import and open geotrellis-server project into IntelliJ IDEA. For safety, before you actually start build the Uber JAR (Fat JAR), please make sure increase JAVA heap size to at least 2G (recommended 4G), so click the Terminal tab on the bottom, and type following to increase JAVA heap size
> export JAVA_OPTS="-Xmx4g"
then in the Terminal, type following to start build
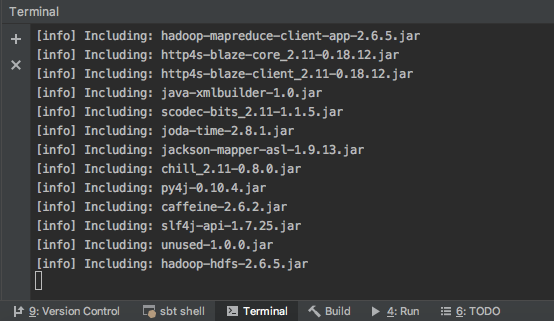
> sbt assembly
Run the Geotrellis Overlay Server
> cd ./example/target/scala-2.11/
> export JAVA_HOME="$(/usr/libexec/java_home)"
> export JAVA_OPTS="-Xmx4g"
> java -cp geotrellis-server-example.jar geotrellis.server.example.overlay.OverlayServer
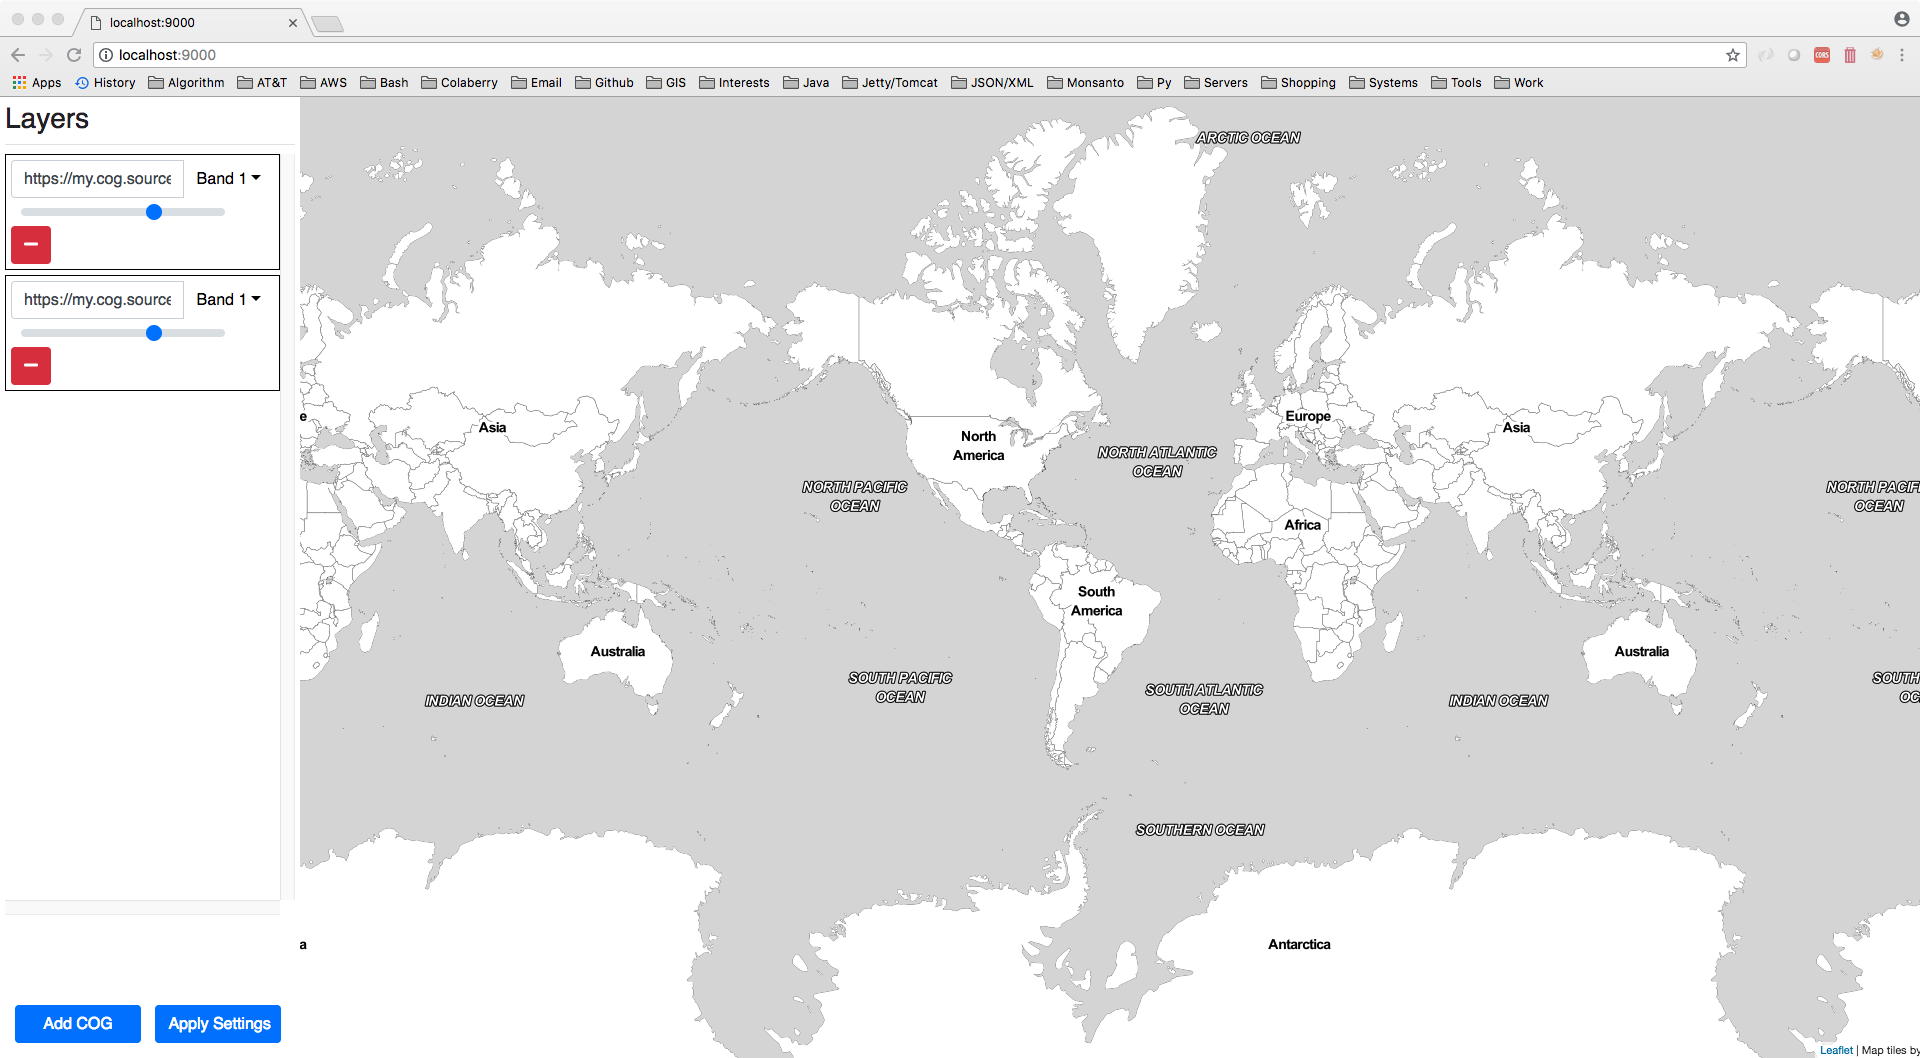
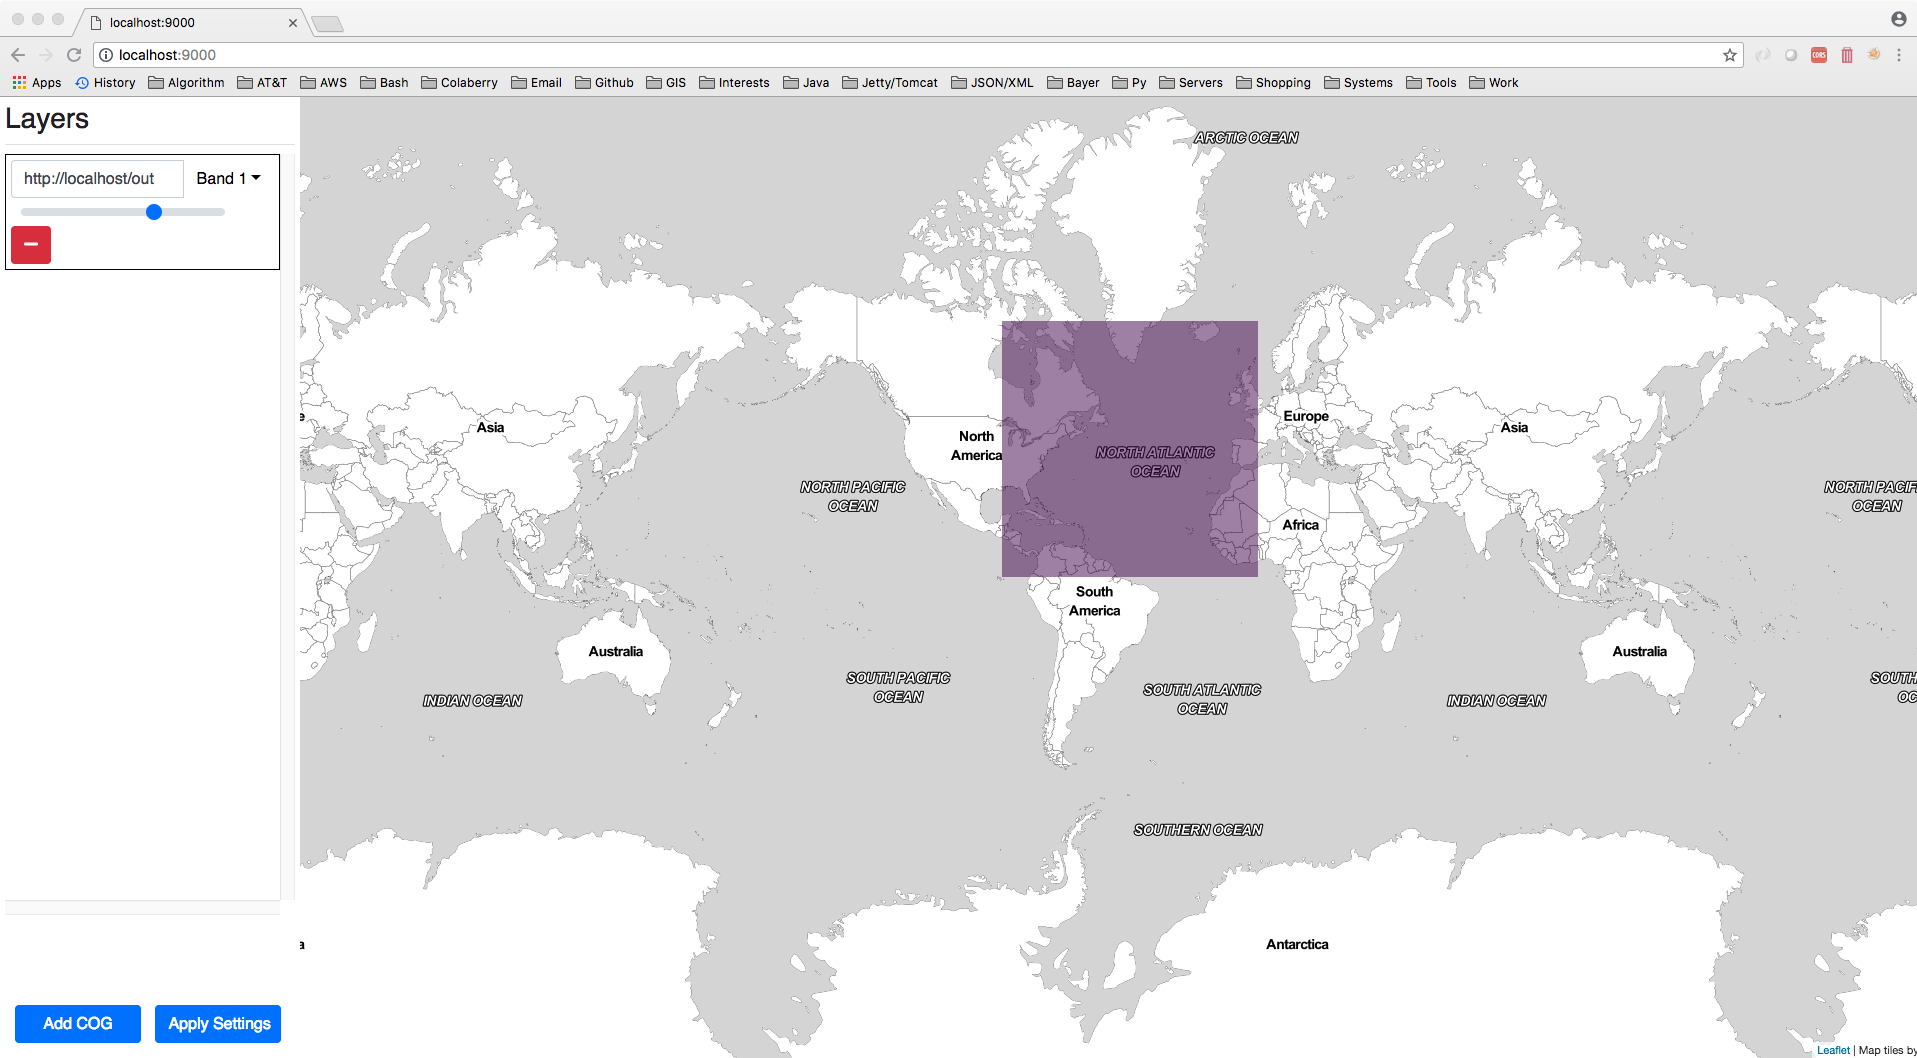
Now navigate to http://localhost:9000/ in the browser, you will see the UI
Setup a simple COG (Cloud optimized GeoTIFF) Server
Install GDAL 2.x
> brew install gdal
Unlink gdal 1.x using
> brew unlink gdal
Tap into osgeo4mac
> brew tap osgeo/osgeo4mac && brew tap --repair
Install gdal 2.x
> brew install jasper netcdf # gdal dependencies
> brew install gdal2 --with-armadillo --with-complete --with-libkml --with-unsupported
Link gdal 2.x
> brew link --force gdal2
Prepare a simple COG image
After installed GDAL, use gdal_translate to convert a GeoTiff image to COG format.
Download sample.tif
> gdal_translate sample.tif out.tif -co TILED=YES -co COPY_SRC_OVERVIEWS=YES -co COMPRESS=LZW
Now enable Apache Web Server on Mac OS X and move the image to the WebServer folder
> sudo apachectl start
> sudo cp out.tif /Library/WebServer/Documents/sample
Load the COG service in the Geotrellis Overlay Server
Add file:///{GEOTIFF LOCAL PATH}/sample.tif or http://localhost/sample in the box as shown in below via Add COG button
GeoTrellis TMS Python Client
In the Terminal, please do
> pip install pyGeoTile requests numpy GDAL pyproj Pillow
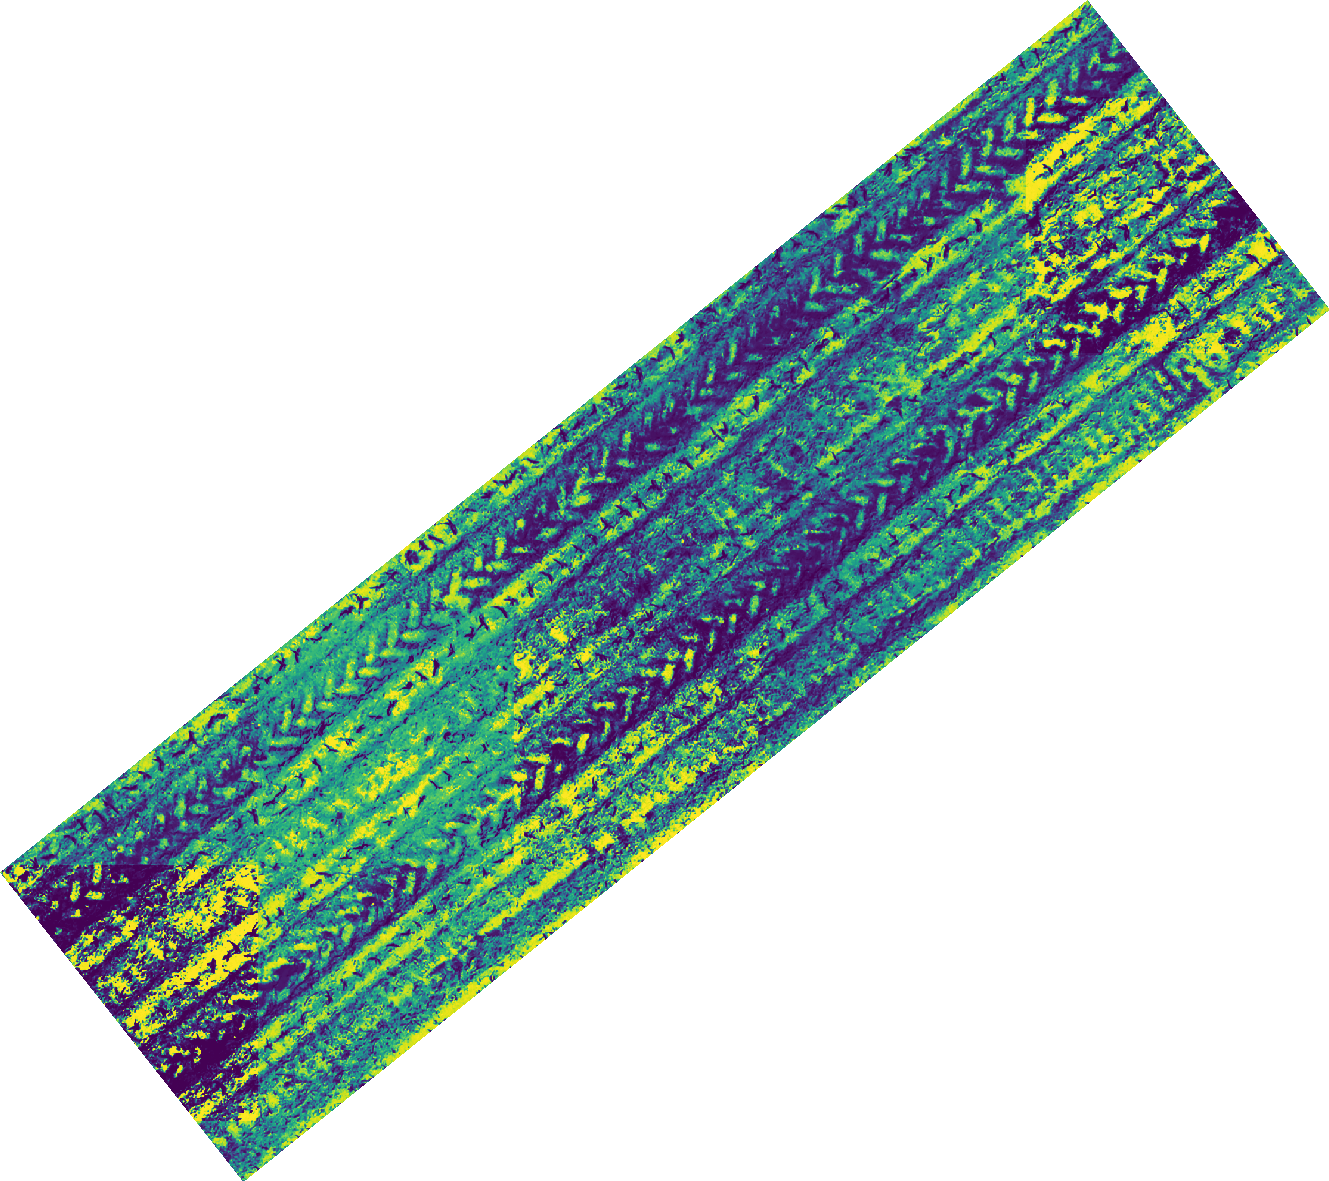
Download sample_123456789098765.geojson, then download and run tailorhands_engine.py in the terminal, it will download a the image for the plot.
> python tailorhands_engine.py
Fixed rendering result

*Note: you can also edit tailorhands_engine.py to change the field, plot_id, fixed, fixed_length, and zoom level (Finding zoom levels: https://wiki.openstreetmap.org/wiki/Zoom_levels).
# field
field = 'sample'
# plot id
plot_id = 123456789098765
# output fixed image
# set to False to use scaled
fixed = True
fixed_length = 128
# Zoom level
if fixed:
    zoom = 21
else:
    zoom = 24
Scaled rendering result
The PNG file:
The GeoTiff file:
Debug Tools
http://www.maptiler.org/google-maps-coordinates-tile-bounds-projection/
References
[1]. https://docs.geotrellis.io/en/latest/tutorials/setup.html#requirements
[2]. https://allixender.github.io/articles/gsoc-geotrellis-ides/
[3]. https://www.karambelkar.info/2016/10/gdal-2-on-mac-with-homebrew/
[4]. http://www.cogeo.org/map/
[5]. https://gist.github.com/tmcw/4954720
[6]. https://gis.stackexchange.com/questions/132242/what-are-the-differences-between-tms-xyz-wmts
[7]. https://alastaira.wordpress.com/2011/07/06/converting-tms-tile-coordinates-to-googlebingosm-tile-coordinates/